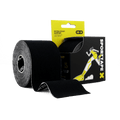
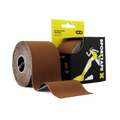
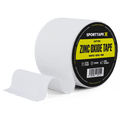
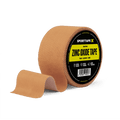
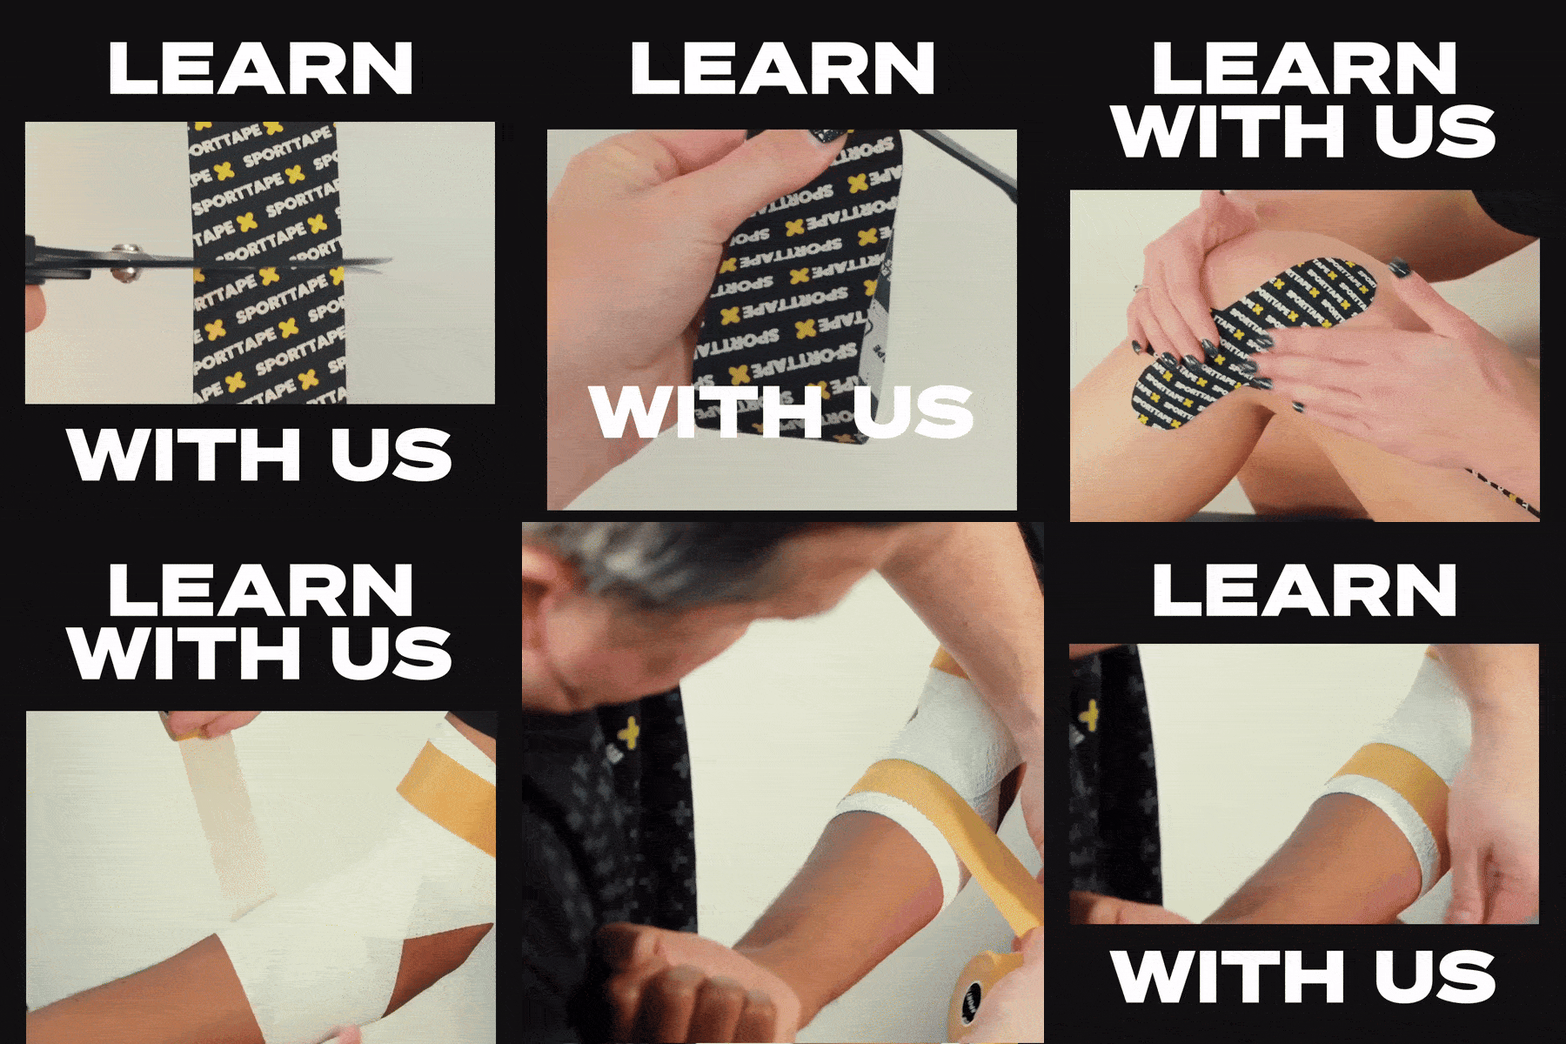
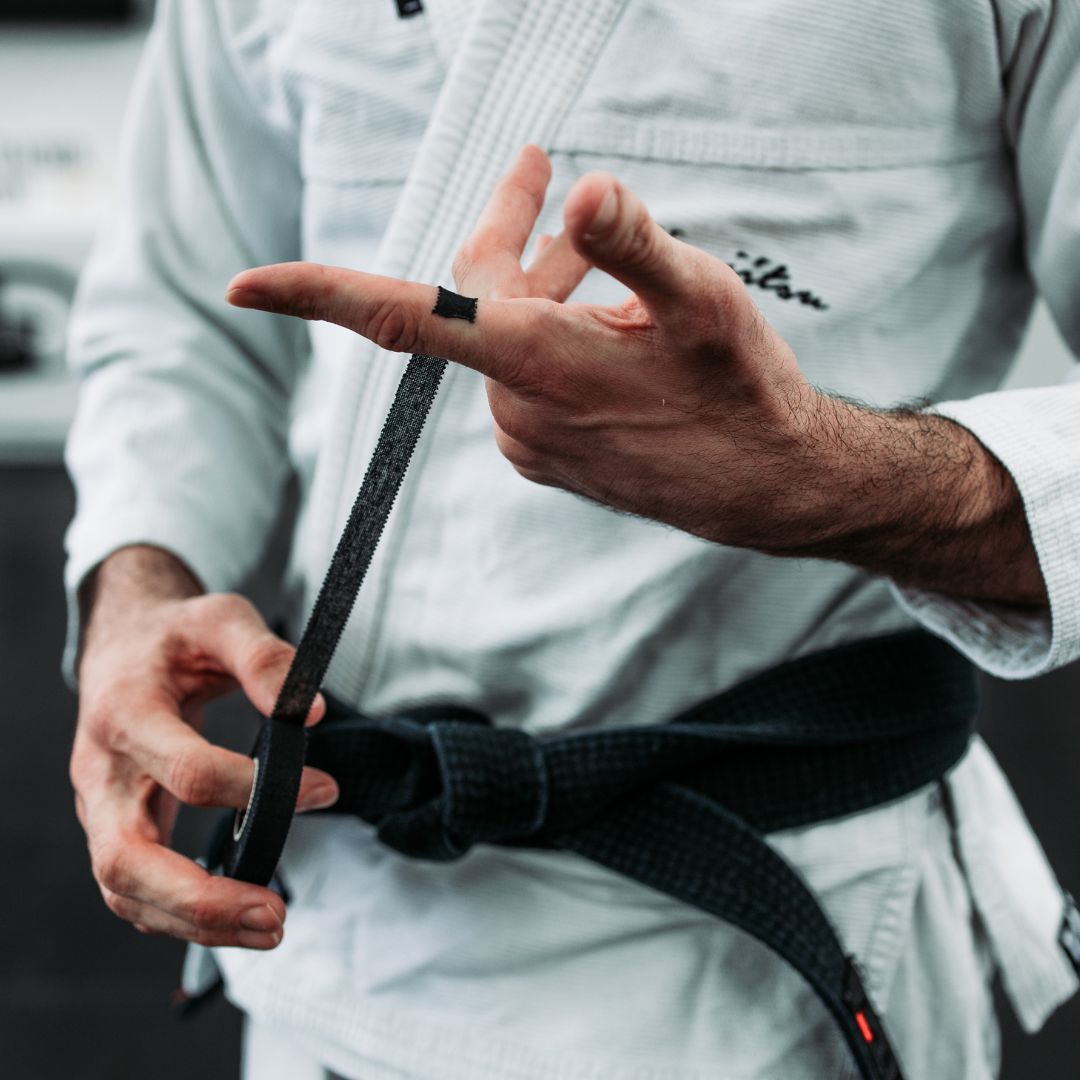
It's time to tape some hands and thumbs!
We've spoken to as many athletes and physios as we can to find out what applications they use the most on their hands and their thumbs and we wanted to share them with you. These are the four most popular applications to keep you feeling protected in the gym and on the pitch.
HAND & THUMB APPLICATIONS:
THUMB SPICA
If you play rugby, chances are you've bashed your thumb at some point. Whether it was lightly sprained or heavily bruised, this is an ideal taping application for players who have a history of exactly that, or even if you want to prevent hyperextension during tackling.
The best thing about it and all the other applications is, you can apply it to yourself!
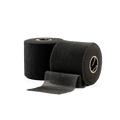
Non-Tear EAB is great for the thumb because it offers additional strength without having to use a rigid tape, like Zinc Oxide. This is how it's used...
STEP 1
Start taping from your palm, aiming up between the palm and the index finger. Bring the tape around the back of the thumb.
STEP 2
Angle the tape towards your starting position. This pulls the thumb towards the palm, restricting any overextension.
Bring the tape around the back of the wrist, angling it back towards your starting position.
STEP 3
Repeat the application 2-3 times. Cut the tape to finish your application.
This is how it should look...
HOOK GRIP
So so so so so simple, but because it's used regularly it can't be left out.
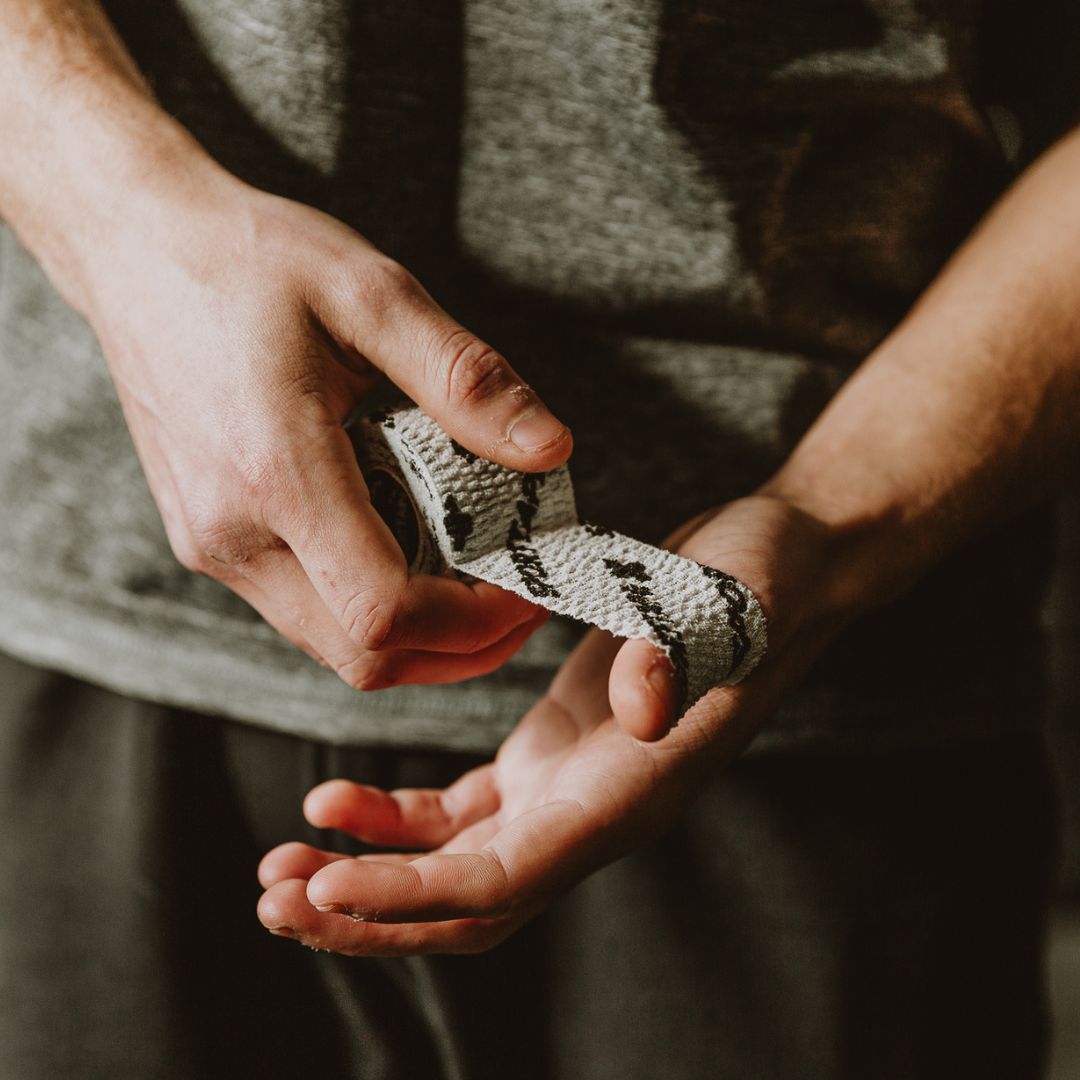
This application is targeted towards gym-goers, but it's so versatile that you can use it for just about anything! All you need is some Thumb Tape and you're ready to go.
It’s used to protect your thumb from the friction of the bar when lifting in hook-grip. This application can also be used to stop ropes, or kettlebells from rubbing directly against the skin. You can use multiple layers for as much protection as you want.
STEP 1
Taping directly from the roll. Stick the tape down to your thumb and begin to wrap.
STEP 2
Wrap the thumb 2-3 times to cover the entire thumb. Be careful not to restrict flexion.
STEP 3
Continue on the other thumb (and any other fingers) if needed. Then get lifting!
PALM PROTECTION
This one almost feels like a cheat code. Is that just me?
This isn't a typical K Taping technique, mainly because the tape is being used to protect your hands, rather than trying to reduce pain or increase range of movement. CrossFitters can use it to protect their palms from calluses, cuts and grazes; caused by Olympic bars, ropes and kettlebells.
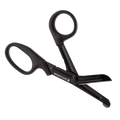
Grab some scissors and let's protect those palms...
STEP 1
Measure a strip of K Tape from the middle of your fingers to just below the wrist. Keep your wrist neutral and your palm nice and flat.
STEP 2
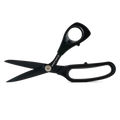
Fold a small tab of tape and, using the sharpest scissors you can find, cut 2 small finger holes.
STEP 3
Carefully peel the backing paper and place your middle and ring fingers through the holes, sticking the tape to the back of your hand.
STEP 4
Remove the middle section of backing paper and stick the tape down to your palm with no stretch.
This is the technique you should be looking for...
HAND AND WRIST
Let's finish strong with one of our favourite hand applications.
Contact and winter sports, like rugby, skiing, etc, pose a high risk for hyperextension of the wrist and thumb due to the impacts of falls and tackles. It's designed to help prevent exactly that.
This application uses Tear EAB as it's more easily manipulated. However Non-Tear EAB can be used just as effectively, and will provide a more rigid support. It's a preference thing. And don't forget to start on back of the wrist, wrapping up towards the thumb first. Let's try it.
STEP 1
Keeping the wrist in neutral and starting from the back of the hand, wrap your EAB around the wrist, directly over the joint line.
STEP 2
Complete 2 full rotations around the wrist. Begin to angle the EAB as you come around the 2nd time in preparation to wrap the hand. Angling the tape early will reduce creases and make for a more comfortable application.
STEP 3
Bring the tape across the back of the hand, aiming between the thumb and index finger. Allow the tape to continue across the palm, and then wrap around the wrist once more.
STEP 4
Repeat this pattern to create the necessary restriction. Nice and simple!
Hands = Taped!
Taping your hands and your thumbs can be really easy, but that doesn't mean that they can't come to your rescue, either in the gym or on the pitch, so don't neglect those suckers!
If you want to learn more about any of the applications that we've discussed, or if you just have a question that you'd like us to answer, get in touch! We're more than happy to help.


