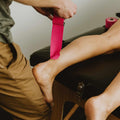
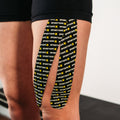
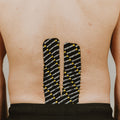
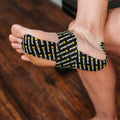
It's absolutely no secret that Rugby, as a sport, typically goes through the most tape. So, we know what we're talking about here.
At the professional level, nearly every player on the field will be wearing some form of rugby tape during the game. But what tapes are the pros actually using? And why? Well, we've got your back. These are our top 5 rugby taping techniques that you need to know!
RUGBY TAPING TECHNIQUES:
RUGBY LIFTING BLOCKS
We couldn't leave these bad boys out!
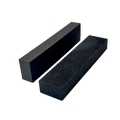
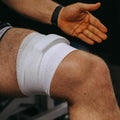
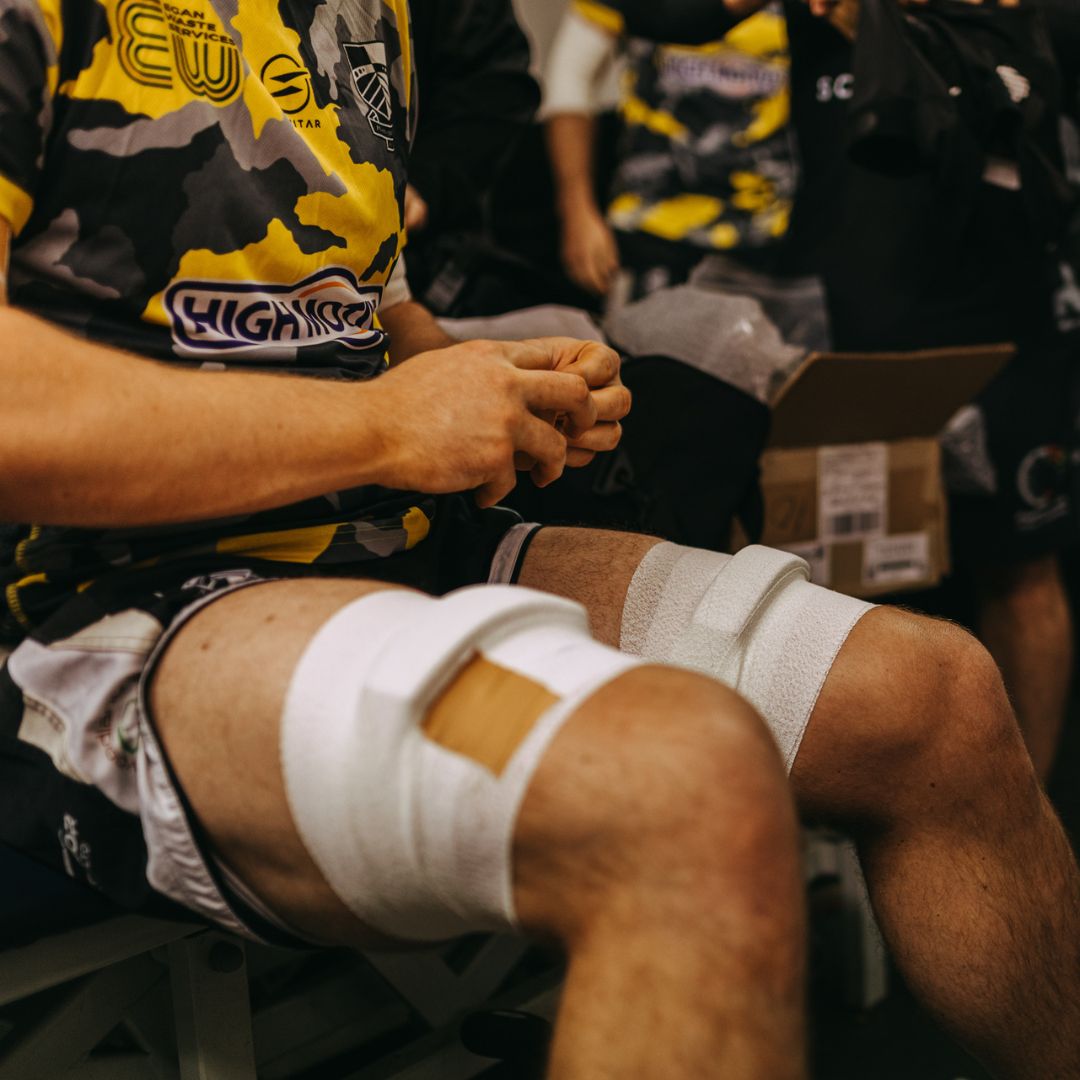
Rugby Lifting Blocks can come in lots of different shapes and sizes, but all are used to strap to the thighs of your lineout jumpers to help your lifters get a better grip of you when they're throwing you up to catch the ball.
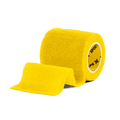
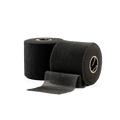
Like I mentioned, they do come in a few different sizes, but in our case, it's a simple lightweight piece of foam. All you need to do with them is place them in the position you want and place some 7.5cm Tear EAB over the top and wrap it around your leg 2-3 times. If you want to secure it, you can use some Sock Tape over the top of it.
Check out our video tutorial on exactly how to apply them for rugby!
STRAPPING APPLICATIONS
Strapping applications are super popular in rugby. Your body can take a proper battering on the pitch and so tape can be a real life saver for a lot of players.
The majority of strapping apps will require a helping hand, ideally the experienced hands of a physio, but either way, they are still really beneficial to know if you're someone who does need that extra support in training or matches.
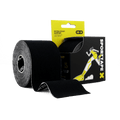
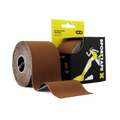
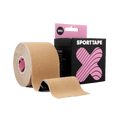
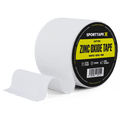
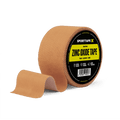
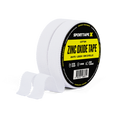
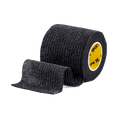
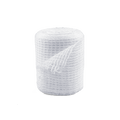
What you'll need is some EAB and some Zinc Oxide Tape. Colour and size is more of a preference thing, but typically it'll be a Tear EAB and a Tan Zinc Oxide.
These tend to be the most common rugby strapping applications that you'll see...
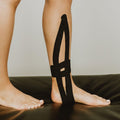
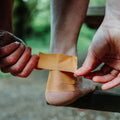
ANKLE STRAPPING
Strapping your ankle up is really common in rugby as it can prevent the ankle from rolling inwards. This'll also then provide some additional support to the foot when performing quick changes of direction, like side-stepping.
This is how to strap an ankle like a pro!
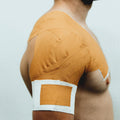
SHOULDER STRAPPING
You will definitely need a second pair of hands if you're strapping up a shoulder.
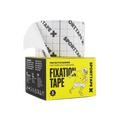
It's the same idea as the ankle. It's all about limiting the lateral movement and ensuring you keep in one position that feels the most comfortable for you. Given that it's generally a hairier area of the body, you might want to use some Fixation Tape, along with your strapping tapes to keep your skin safe.
This is how to strap a shoulder for rugby!
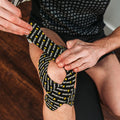
KNEE STRAPPING
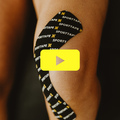
Physios all seem to do this one slightly differently, using their own techniques, but whatever the case, the principle of the application is to strap up the Knee, but mainly the MCL joint. This is probably the most common rugby strapping application that you'll see.
This is how to strap up your knee/MCL!
EAR TAPING
If you play rugby, watch rugby or happen to be walking through the park when your local side is playing, odds are you've probably seen a player with some tape wrapped around their head before. Aside from making you look tougher, that's actually used to protect a player's ears during a game.
Cauliflower ears are a real thing, especially in rugby, and we want to help ensure that you can avoid them for as a long as possible.
There's a few different ways to do this, but typically it's used with a roll of Tear EAB and some Sock Tape. Wrap the EAB around your head so it's covering the top half of your ear and then, to secure it in place, do one lap with your Sock Tape. Simples.
WRIST TAPING
Taping your wrists when playing rugby can make them stronger and feel a lot more secure. It could be the difference between making that game-saving tackle, or letting it slip through your fingers.
By taping directly over the wrist joint line, you're restricting the range that you can flex or extend your wrist. This will make them stronger, and less susceptible to impact injuries.
Most players tend to use a Tear EAB 5cm, but you can also use Zinc Oxide, depending on the level of support you're looking for. 2-3 wraps around the wrist should do it!
THUMB TAPING
If you play rugby, chances are you've bashed your thumb at some point. Whether it was lightly sprained or heavily bruised, this is an ideal taping application for players who have a history of exactly that, or even if you want to prevent hyperextension during tackling.
The best thing about it and all the other applications is, you can apply it to yourself!
Non-Tear EAB is great for the thumb because it offers additional strength without having to use a rigid tape, like Zinc Oxide. This is how it should look...
And that's it! Those are the most common rugby taping techniques you'll need to keep your body feeling 100% for games on end.
Do you use any other taping techniques for rugby? We're always looking to learn, so feel free to send us an email! If you want to learn more about any of the techniques or applications above, check out our learn page or get in touch! We're happy to help.


