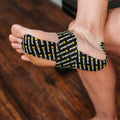
You play rugby, you're already strong, but that doesn't mean you can't be, or at least feel, stronger. Taping your wrists when playing rugby can makes them feel quite a bit stronger and, more importantly, secure. It could be the difference between making that game-saving tackle, or letting it slip through your fingers.
By taping directly over the wrist joint line, you're restricting the range that you can flex or extend your wrist. This'll make them feel stronger, and less susceptible to impact injuries.
This is our quick and easy guide on exactly how to tape your wrists for rugby.
WHAT TAPE WILL YOU NEED?
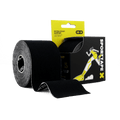
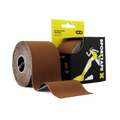
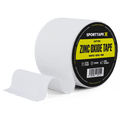
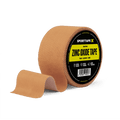
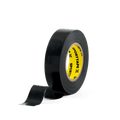
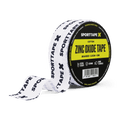
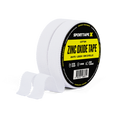
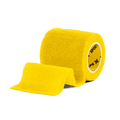
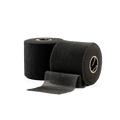
If your club physio doesn't have what you need (they're busy, forgive them), we'd suggest getting either a roll of 5cm Zinc Oxide Tape or a 5cm Tear EAB.
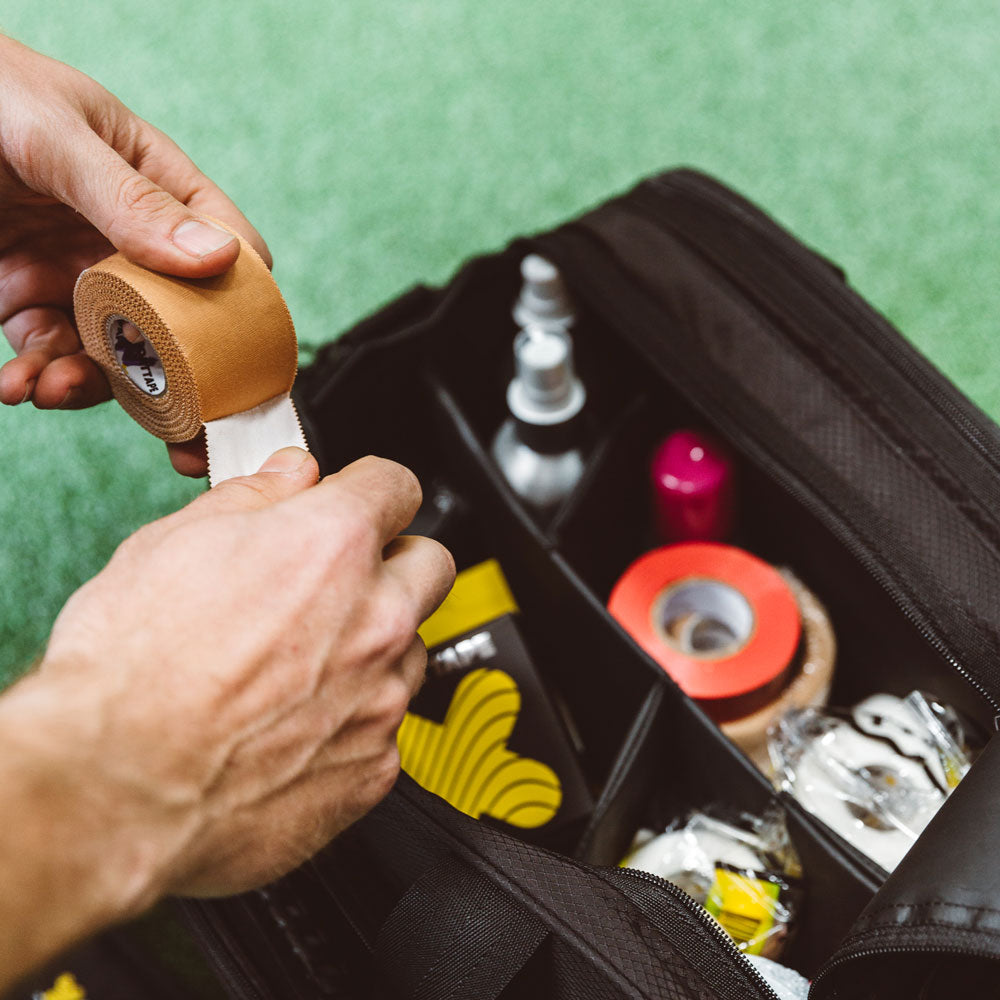
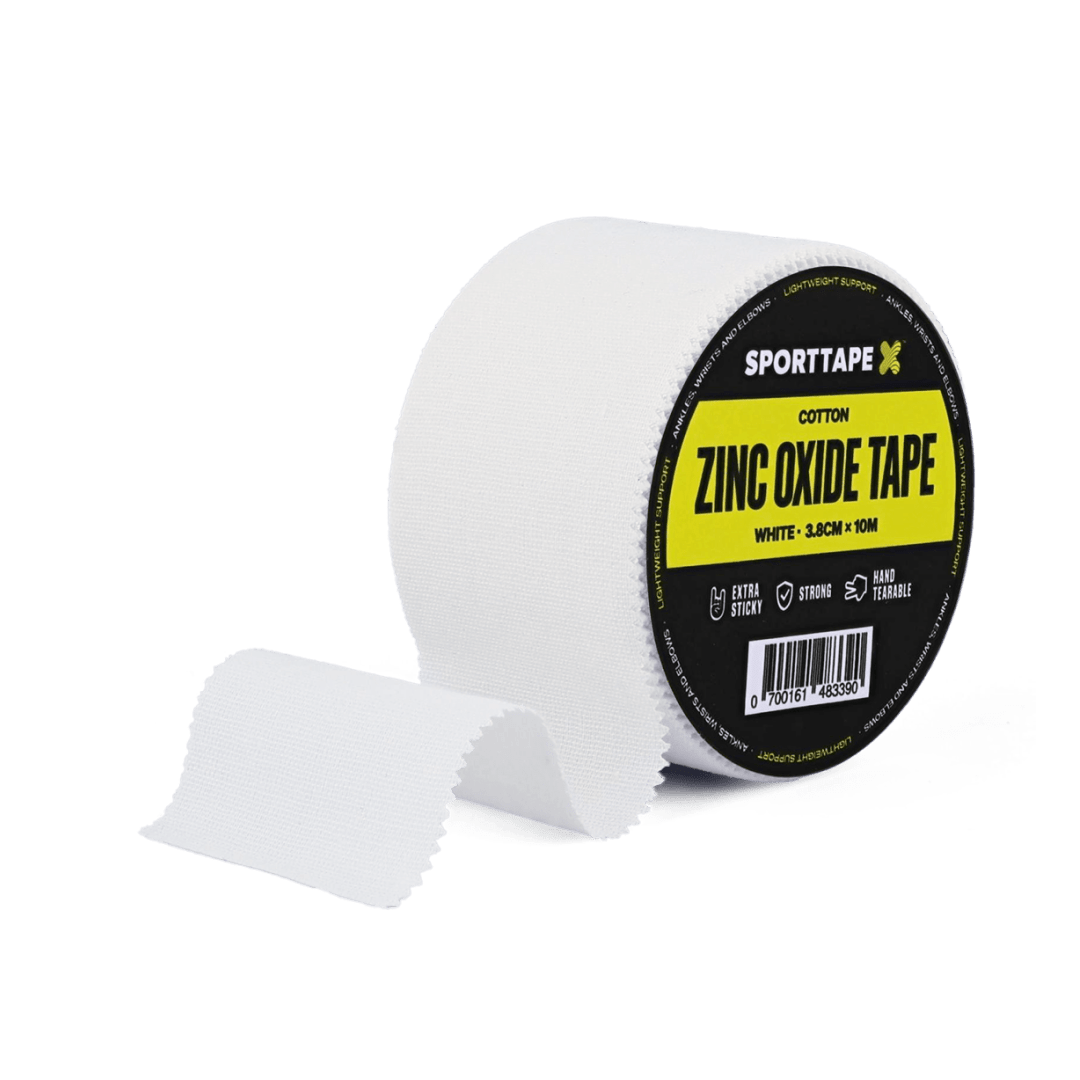
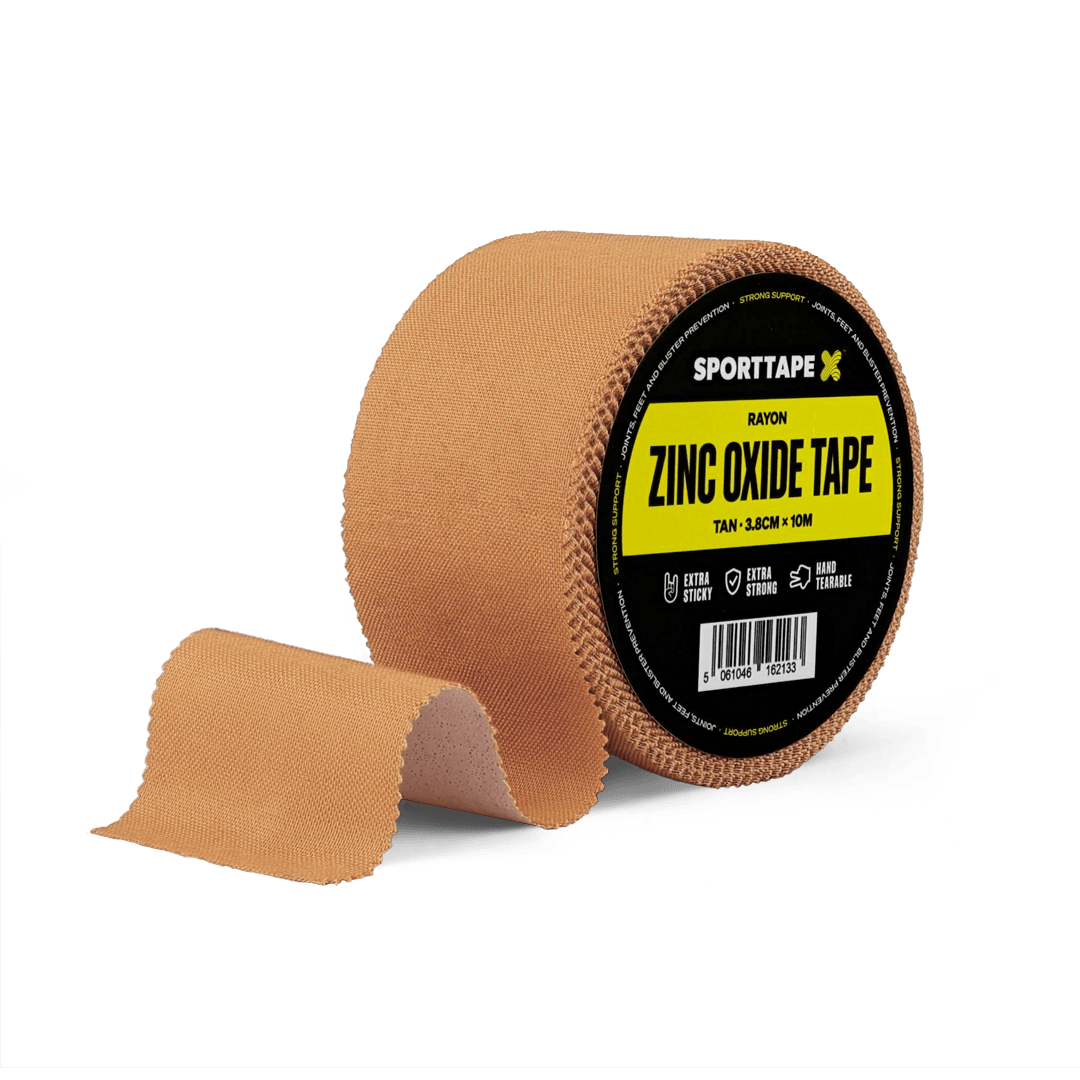
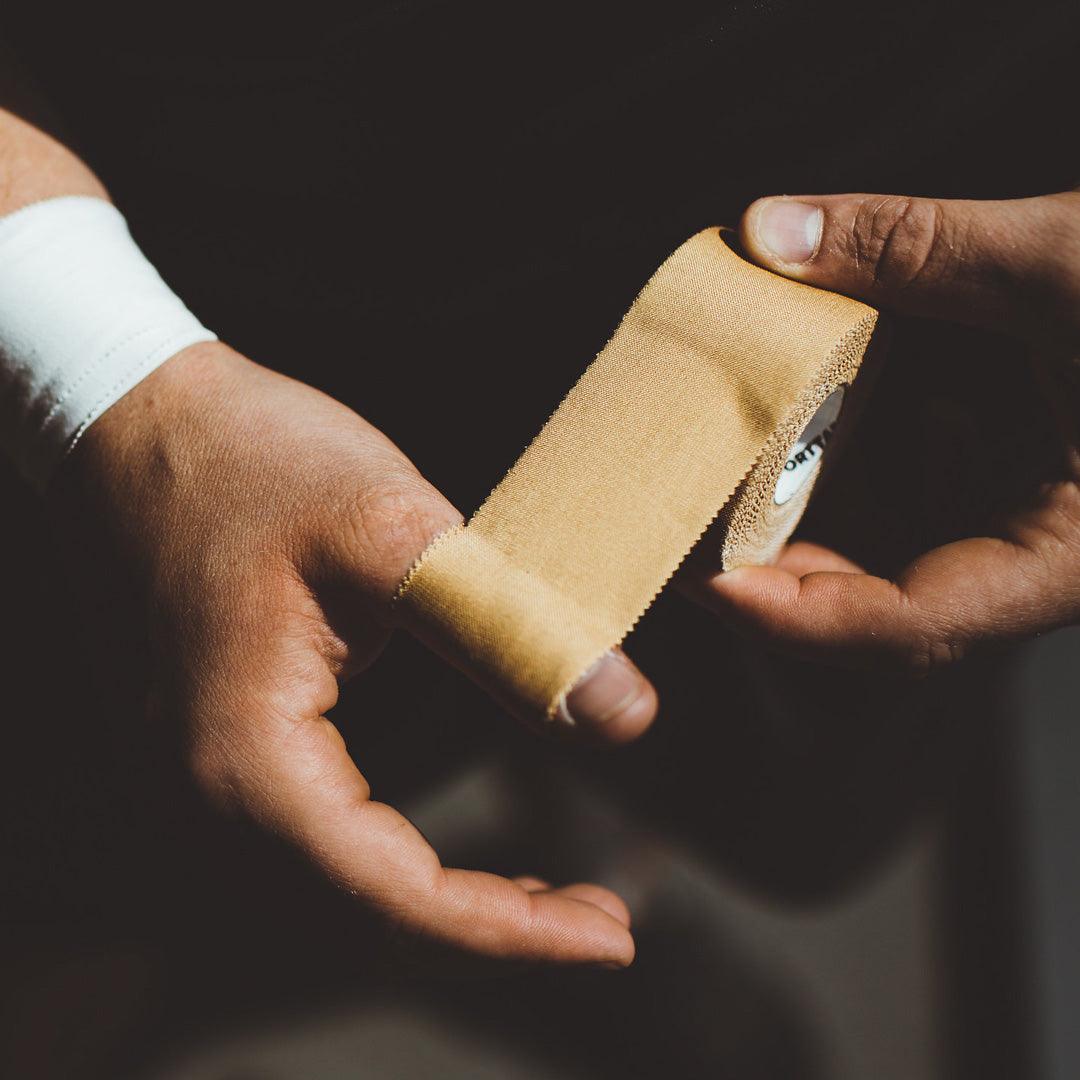
Zinc Oxide Tape is an ideal choice if you need to immobilise an area, such as a wrist. It's a rigid non-stretch tape that provides unrivalled support.
You'll want to choose the Tan/Brown version for its highest tensile strength. Because of it’s strength, the most common use of Zinc Oxide Tape is to support joints such as the ankle, knee and shoulder. In this case however, we'd tend to stick with the White.
Elastic Adhesive Bandage is the most versatile rugby tape in your kitbag. It can be used for everything, from providing light support and compression, to protecting thumbs and, in this case, wrists.
Again, you'll want to choose the Tearable EAB for faster taping. EAB is stretchy, lightweight, and strong. That makes it perfect as an in-game compression bandage. It’s the tape you’ll see most often around the thighs of your favourite second row, keeping their lifting blocks secured.
Now we know the tape, let's look at how it's used...
HOW TO TAPE YOUR WRIST
STEP 1
Start by finding your wrist joint line by extending your wrist to 90°. You'll see where the skin folds at the back of the wrist. This is your centre line. Return your hand to a neutral position before taping.
STEP 2
Using 5cm Tear EAB, wrap the tape around your wrist a few times. Applying the tape with the joint line in the centre.
STEP 3
Using 2.5cm or 3.8cm Zinc Oxide Tape. Apply a short strip of tape around your wrist directly over the joint line.
STEP 4
Test your tape by trying to extend your wrist again. Apply more strips of Zinc Oxide until you have the desired level of restriction.
That’s it. If you want to learn about any other rugby taping techniques, check out our other guide right here. Now you’re ready to get out there and play. If you have questions for us about taping or any other rugby injuries, get in touch. We're happy to help!


